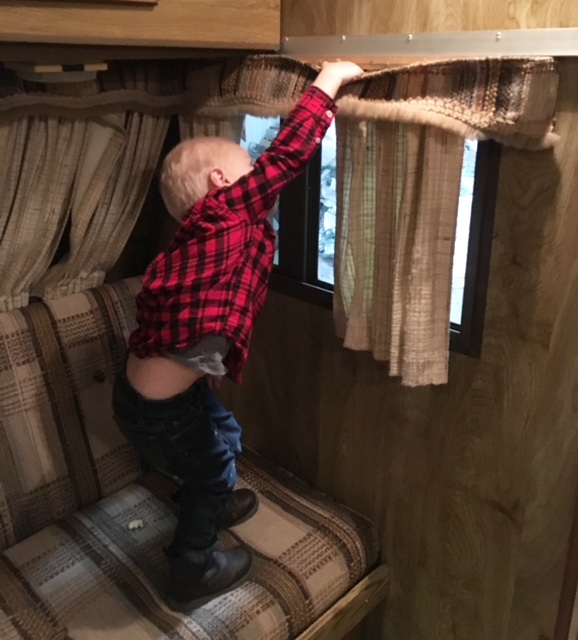
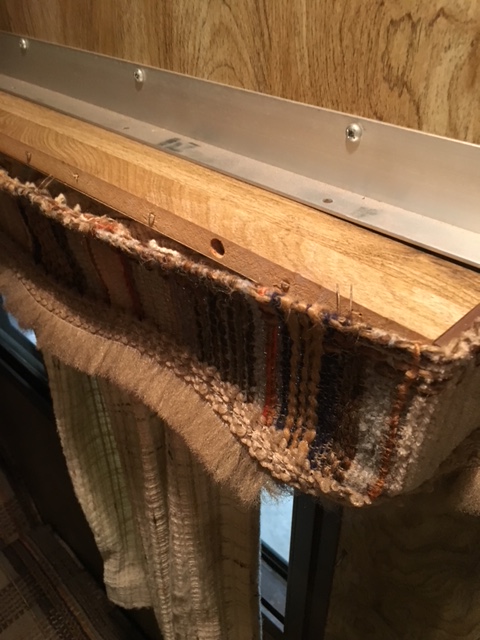
An important step to painting the walls is the prep! After taking down all the curtains, I lightly sanded over the holes. When you take the screws out it pulls up the wood a bit, so if you go over with sandpaper it will smooth it out. Then take a little bit of wood putty and fill in the hole. If you wipe over the hole with either your finger or a paper towel, then you don’t have to go back and sand over each hole. At the end of the day, it’s an old camper and it doesn’t have to be perfect – which is easier said than done if you are a perfectionist like me 😉
This step isn’t necessary, you can hang things up or put curtains back in the same spots if you don’t want to fill in the holes
What is necessary though! Is wiping down the walls and making sure they are clean and free of dust from sanding. You won’t want to use anything that will leave behind a residue. So the vinegar mixture would be good, or my personal favorite is Shaklee’s H2 cleaner. It’s an organic – all purpose cleaner that doesn’t leave behind chemicals or residue (which means my kiddos can help clean. win. win)
Once you have your walls ready, you’ll want to do a coat of primer. I used Kilz Primer. It has a mildew resistant layer which is nice in a camper. You can brush it on or use a small foam roller. I’ll add some links at the bottom of this page so you can see what tools I used
There are a lot of different options for primers, I just happened to have a gallon of this on hand and I read good things about it for campers
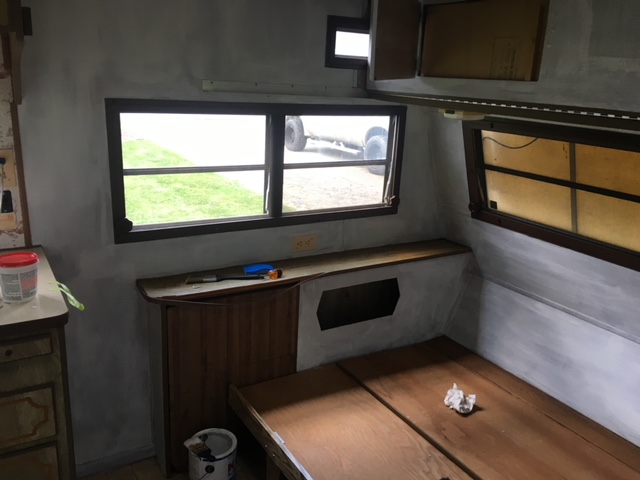
This step sure doesn’t look pretty, but it really brightens it up already! I can wait to get the actual paint rolled on!!


Here’s what I used:
My favorite brush (seriously, gotta have one of these)


 I like this wood filler because it turns white when it’s dry
 A sand block makes it easy to go over all the screw holes or died putty. Plus the handle is nice and squishy 😉 you can buy sandpaper already cut to size, or cut down large sheets to fit.
Tack Cloths are also nice to have on hand if you have to do a lot of sanding