Fixing the counters

In the previous post I talked about putting the contact “marble” contact paper on the counter. I’m also going to put it on the kitchen countertop as well. But I needed to do a little prep work first

I have stick on squares that resemble tiles for the backsplash, and in order to put them on straight I had to pull the rubber trim off. That was no easy task. My sister tried helping pull a bit… and pulled a chunk of the counter out. Yes, I’m totally calling her out 😉 it was a total PAIN in the booty. I had to take an x-acto knife and cut out a lot. Once I got all the trim out, fixing the counter wasn’t too bad

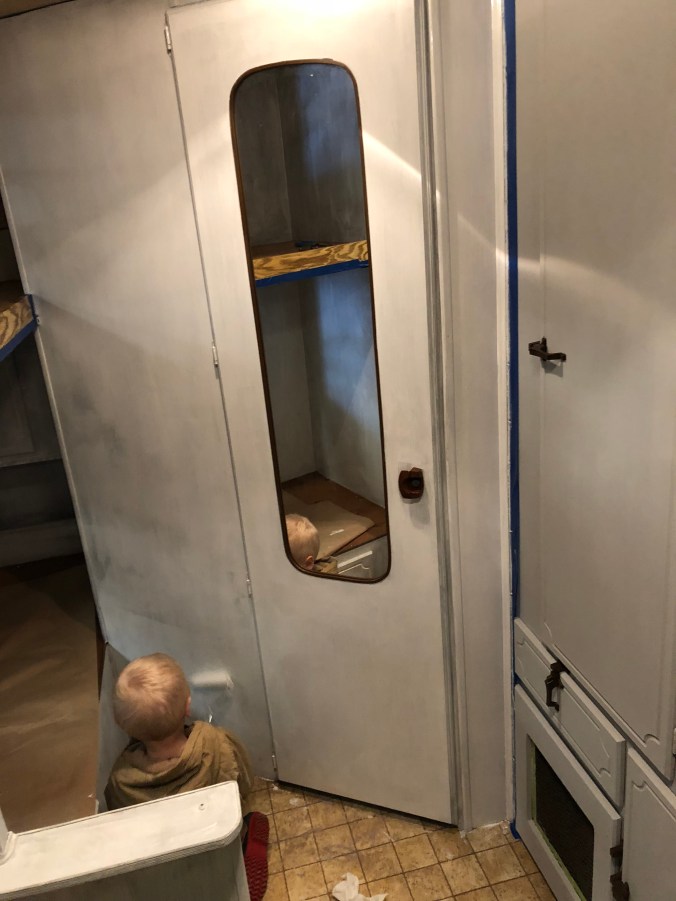
I took this picture when it was dark out, so the lighting wasn’t the best. But you can at least see what I’m talking about. A huge chunk missing!

I used this Elmer’s Wood Filler and just as it says, it dries pretty fast!

I just scooped a bit out with my finger, and then smoothed it out with my metal scraper. Pretty simple.

I’ll be covering the counter so you won’t see any of this. But at least there isn’t a hole now. Once dried, I sanded it smooth just a bit. Next step will be the contact paper!! Yay!

The scraper (putty knife) is great tool to have on hand for little projects like this. They are pretty inexpensive and I use it all the time. There are some on Amazon (which I like to link for your convince) or you can find them at your local hardware store

Easy Camper Counter Tops

So I ran out of paint… and while waiting for it to arrive I had a new thought. I know, I know…. I keep adding all these little projects to the camper. Some day we’ll actually camp in it again! Anyways..! After all these changes I’ve been making (like painting everything) has really made the counters look bad. I really don’t want to rip them out and put on a new top. I’ve been considering that, and glad I had a different idea! If I can wallpaper the walls, why can’t I do it to the counters! Turns out, my right hand man (Amazon) had just what I needed

It’s called Adhesive Vinyl and looks like marble! It’s a thick peel and stick contact paper. And applies the same way as wallpaper. It was pretty easy to work with. I didn’t take the time to line up the design because I figured 1) that would take forever and 2) its a camper. If you look closely you can see the seam where I had to do a second piece. But in person it’s super smooth and pretty! I love it!! I tried it out on the cabinet right by the door. I originally painted this white, and it’s already getting worn so the contact paper is way sturdier and I’ll be able to wipe it down

Pretty awesome right!! If you see my previous post on wallpaper, you can find the tools I used. And you can find the contact paper here!

Don’t mind all the stuff hanging out in the shelves. It’s been the catch-all place while working on this 🙂

And in case you’re curious… this is what it looked like before paint and the contact paper counter top 🙂

For The Love Of Wallpaper

I know people have a love/hate relationship with wallpaper. Obviously, if you’ve seen the kitchen mushroom wallpaper in this camper’s kitchen… you probably aren’t a fan. (Unless of course mushrooms are your thing) but I was looking at the wall going into the bathroom thinking, it needed “something”

WALLPAPER

you guys, I found this wallpaper on Amazon (duh, all good things are from Amazon)

It comes with easy to follow instructions. I won’t go into all the details, but if you have a little patience, it’s fairly easy to put up. I was a little nervous about it sticking to everything and not being able to get it straight. But it’s pretty forgiving. You can pull it off slowly and realign if needed. Which I did a couple times.

After putting it up, I used this smoothing tool to get out the bubbles. And then trimmed around the edges with this X-acto knife

Slow progress, but progress none the less!

Paint Crazy

It’s been awhile since I’ve posted on here… I’m still working away on the camper, and raising three wild children 🙂

I’ve just been painting like crazy. Seriously, SO MUCH PAINTING. I think I underestimated how long it would take to get everything painted. Or maybe, I underestimated the ability to get a lot done in one sitting with kids. But hey, they love to help, and they are dang cute while doing it. So I won’t complain.

After getting the primer on, I started painting with a regular house paint and changed my mind. It wasn’t covering well, and was taking way too long. Mama’s got stuff to do!! So, I switched to chalk paint. I watered it down a bit, and it covered really well. I still had to touch up here and there. But it went along a lot better than 3-4 coats of the house paint. Maybe your walls of your camper are different than mine, because mine were terrible. Chalk paint for the win. I’ll eat the extra cost for a quicker job.

Don’t mind all my bags stacked, but you can see the coverage difference in the paints (right side is one coat of chalk paint)

I also attempted to roll on the paint but found brushing it on worked best for us. There are so many edges to go around it made it time consuming to switch back and forth. Although my son did like rolling 🙂